Google Talk is the most popular IM clients on the Web.The Google Talk Widget comes in 2 varieties. You can add any of these two widgets.Both of them are different and work differently.A Google Talk chatback badge will let visitors to your web page chat with you
login to your Blogger Account and Navigate to Layout > Page Elements Page
Click the Add Gadget Link and Opt to add an HTML/JavaScript Gadget
Paste the HTML code(that we copied) into the Gadget and Save it.
Now you should see the Google Chat Back Widget on your Blog’s sidebar.
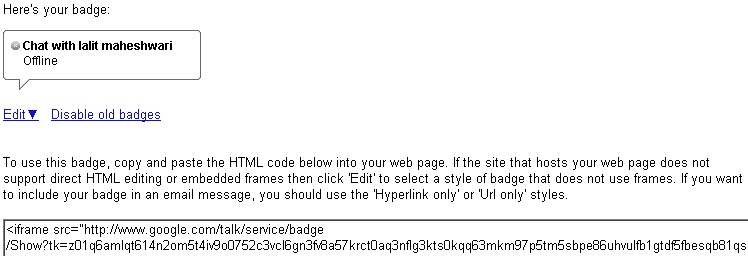
Here is a Screenshot of what the Google Chat Back Widget will look like
Google Talk Gadget
This Gadget is just like the Google Talk Interface within your Gmail. This will allow your blog visitors to login to Google Talk.
If you have your own webpage or blog, you can also add a button to your site so your visitors can pop out the Google Talk Gadget when they visit your page. If you want them to chat with you, just list your username next to the button and ask visitors to sign in and add you as a contact. To add the button to your page, just copy this script into your site's HTML:
You can add this Widget easily using this One Click Installer. It will Add the Widget to your Blog’s Sidebar.
Google is the king of search engines and for most of us the primary source of our traffic.The main search engines are: Google, Bing, Yahoo, Ask and DMOZ. Most of the others just repacked results from these databases. you can submit your site to them for free.Unlimited ads on the Internet who claim they will submit your site to 100′s or more of search engines within few days for a low price. Most of what they do is spam free-for-all link pages on the net.
Robots.txt - Creat a Sitemap
Make sure that your robots.txt file points to your valid sitemap, this tells all robots and crawlers that you have a sitemap and that they should use it. You can do this by adding the following in the first line of your robots.txt file.
sitemap: www.yourdomain.com/sitemap.xml
Some search engines do not allow you to submit sitemaps but will detect sitemaps via robots.txt so it is important to complete this step if you want to maximize your exposure.
create your sitemap.xml file for you by click one of them:
To submit your sitemap.xml to Google, first you will need to make an account at Google webmaster tools. Once you created and login to your Google webmaster account.
Click on Add a site and enter your domain name and click continue.
Add Meta tag
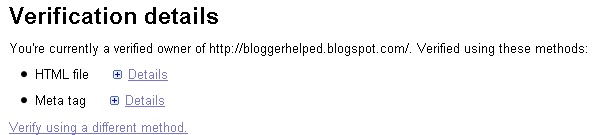
Go to the verification home .Click Verify using a different method.
You will see these option choose one of them (add a meta tag to your sites home page for blogger).
You can choose this option if you can upload new files to your site.
You can use this option if you can sign in to your domain registrar or hosting provider and add a new DNS record.
You can use this option if your site already has a Google Analytics tracking code that uses the asynchronous snippet. You must be an administrator on the Analytics account.
You can choose this option if you can edit your site's HTML.
Copy the meta tag and paste it into your site's/blogger and home page by login in your blogger account.It should go in the section, before the first section.
Click verify below.
Leave the meta tag in place even after verification succeeds.
Submitt Site Map
Dashboard. Add your sitemap.xml by going to the left hand side under Site Configuration> Sitemaps>Submit a Sitemap
Enter your sitemap.xml URL and click Submit Sitemap. Wait for a few hours for the Google to pick up your sitemap and you are done.
Click on Add a site and fill out the form on that page then click submit.
Verify that you are the site owner by uploading a file or adding a meta tag within your HTML header. Once you done that go back to the main Bing webmaster page and click on the website you added. It should now been pick up by Bing and you are done.
the appropriate category for your site, click the suggest URL link and fill out the form.You are done. DMOZ is done by humans so there is no need for a sitemap.
Thank You
Other search engines:
The most famous is Baidu which is the biggest search engine in China and can generate a fair amount of traffic back to your site. You can submit to Baidu here the page is in Chinese but it is pretty easy to follow regardless. In Russia Yandex dominates the search engine market and you can add your site via their webmaster tools The other big search engines you may not have heard of are Seznam and Naver but submitting.
the main page by typing “Notes” into the search box at the top of the screen
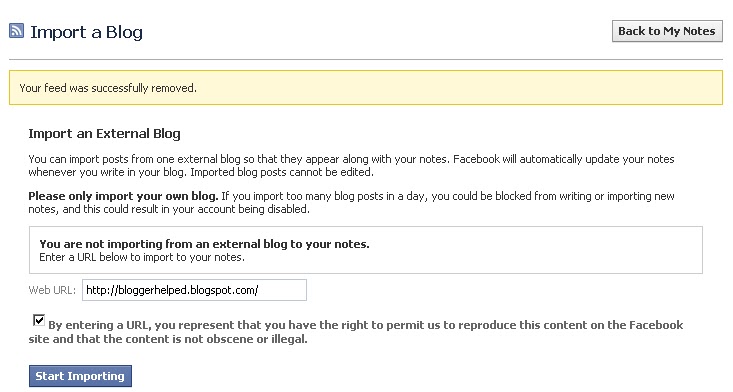
And click Edit Import Settings link on the left side under Subscribe section see below
Enter the URL (web address) of your blog into the text box, and check the box underneath that states that you agree to our Terms of Use
To complete the process, click on “Save Settings.” Once you do this, your previous posts will appear as notes and any new posts you make will automatically display
Now Accept the confirmation by click on the confirm button


 Thank you