
Winternals Software has released a new version of its Em
erg ency Repair Disk (ERD) software. This new version, ERD Commander 2000, has many great features and great new ways to deploy the utility.
The previous version, ERD Commander Pro, created a set of
Windows NT start up disks; however, ERD Commander 2000 lets you create boot disks or a bootable CD-ROM or install ERD Commander 2000 to the local hard disk (like the Windows 2000 Recovery Console--RC).
To install the new version of the software, simply perform the following steps:
- Go to the directory to which you downloaded ERD Commander 2000.
- Double-click e2ksetup.exe.
- Click Next.
- After reading the license agreement, click Yes.
- Specify a destination folder and click Next (by default, the destination folder is C:\program files\Winternals\ERD Commander 2000).
- Click Next to the program folder name, then click Next again.
- The system will copy files and registry entries, and the Setup Wizard will start.
- Click Next when the license agreement appears again.
- Select the type of installation, and click Next.
- The system will ask for the location of the i386 folder of a Win2K installation (Professional or Server). Specify the appropriate location, and click Next.
- If you have any special SCSI drivers, the system gives you the chance to add them; after you do so, click Next.
- You can now set a password to access the installation. Set a password (this step is very important if you've chosen to install ERD Commander 2000 on the local hard disk, but it is also an option if you are creating a bootable CD-ROM), and click Next.
- Click Next to create the disks/files.
- Click Finish.
If you selected to create a bootable CD-ROM, you need to perform a few more steps. You will have a folder with the following items in it:
- i386 folder (contains the files used for the console)
- BOOTSECT.BIN (the file you will use as the boot sector for the CD-ROM)
- cdrom_is.5 (for Win2K Server) or cdrom_ip.5 (for Win2K Pro)
To create the CD-ROM, start your CD-ROM burner software, and specify the following settings:
- Use ISO 9660 file system (Not Joliet)
- Include Hidden files
- Include System files
- Disable Version Numbers
- Set as bootable CD_ROM
- Set boot sector image to BOOTSECT.BIN
- Set Media Emulation to Custom
- Set Load Sector Count to 4
- Set Load Segment to 07C0 (hex)
If you were using Golden Hawk CDRWIN software, your main screen would look like the one shown in Figure 1, and you would click Advanced Options to set the bootable parts.
Click here to view image
One really neat feature of the new version is that it takes only two steps to change a password.
- Use the following command to connect to the registry:
C:\> registry
- Use the password command to change the password:
C:\> password [username] [new password]
I highly recommend this new version. The old version saved my neck a number of times, and this new version is even better. You can purchase ERD Commander 2000 for $349. An upgrade to ERD Commander Pro is available for $49. ERD Commander 2000 operates on both NT 4.0 and Win2K. For more information, visit the Winternals Software Web site.


 5. Save your template.

 Click The Encode Button Than it look like the Below Image.
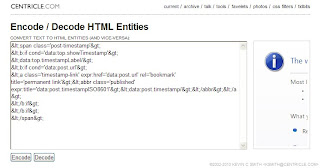

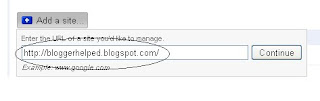
 3.Scroll down the window and you will see an option "Donations" in the right sidebar.Click on it!


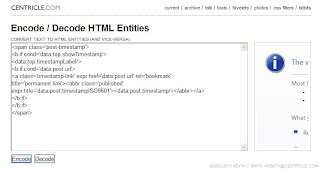
 4.Search for the following line of code:
 3.The Edit HTML page under Template tab should be loaded. If not, go to the tab.


